My Journey with Mokuhanga: The Japanese Art of Woodblock Printing
|
This page documents much of my artistic journey discovering the Japanese woodblock printing technique, Mokuhanga. I hope this page is a helpful resource to others who decide to explore this beautiful art.
The videos below continues to teach and inspire me! Also, I highly recommend the online opportunities at the Karuizawa Mokuhanga School. I learned so much and the teacher is incredibly supportive especially considering this is distance learning! |
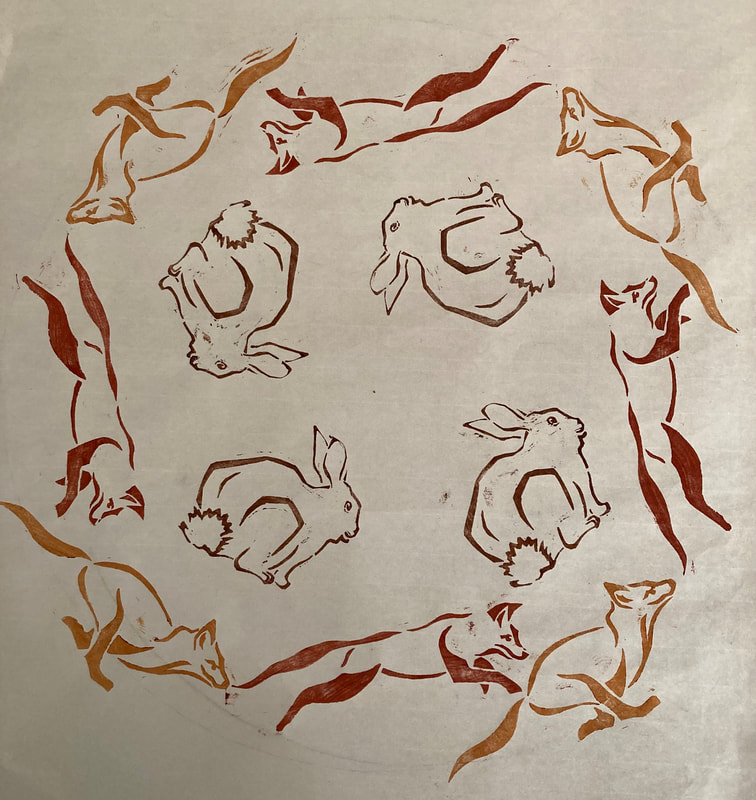
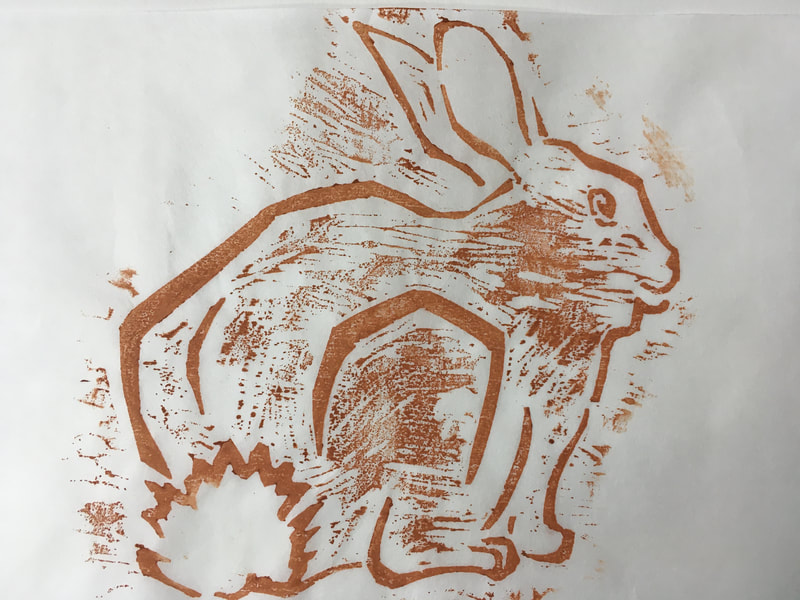
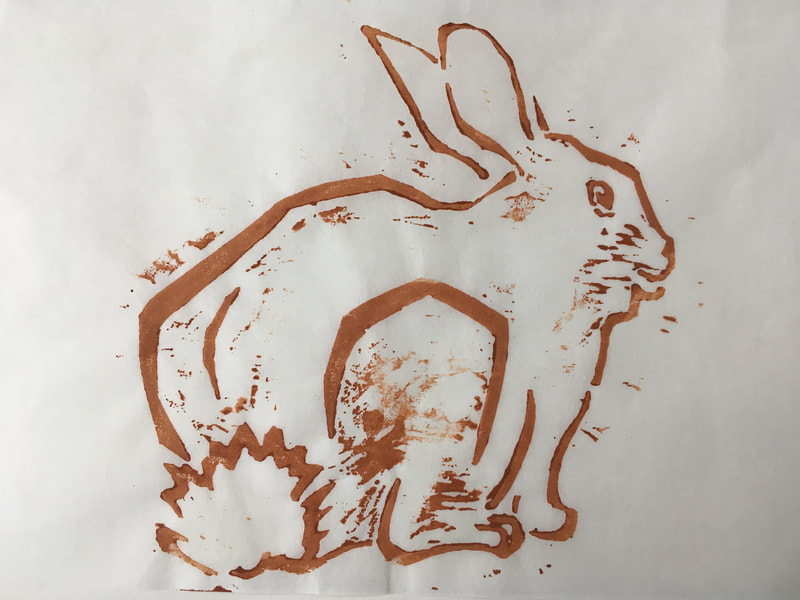
Run Rabbit Run, 2021, single color woodblock prints using mokuhanga techniques and water soluble inks on Japanese paper.
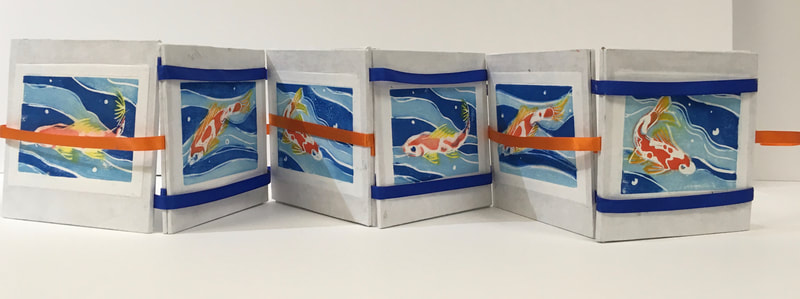
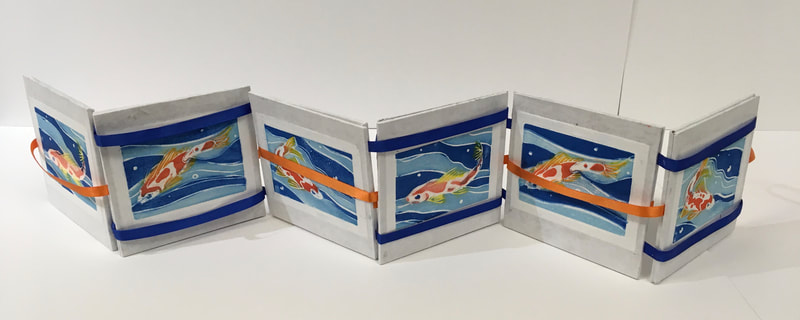
Jacob's Ladder Book with Fish, 2018, single color woodblock prints using mokuhanga techniques and water soluble inks on Japanese paper.
Your browser does not support viewing this document. Click here to download the document.
Your browser does not support viewing this document. Click here to download the document.
Your browser does not support viewing this document. Click here to download the document.
Your browser does not support viewing this document. Click here to download the document.
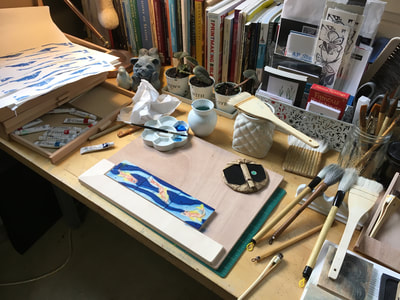
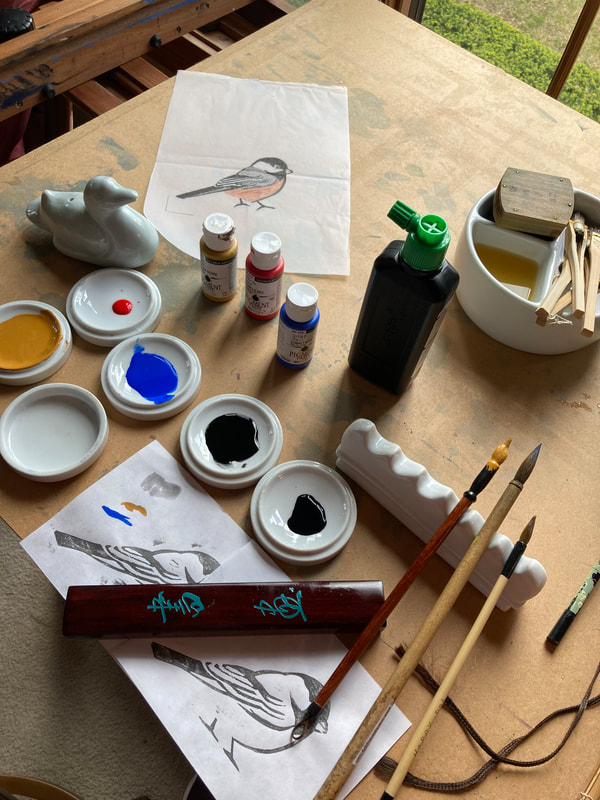
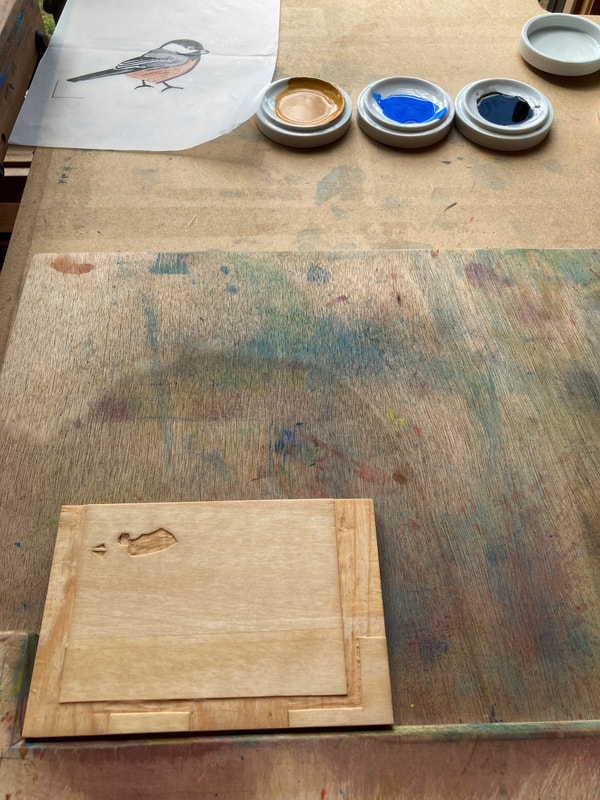
A Word about PigmentsI have found that there are several different kinds of pigments that can be successfully used for the mokuhanga technique. I recommend sumi-e ink for the key block (the outlines). My favorite colors are the Akua brand liquid pigments, but I have had success with Chinese watercolor (in the pan, I find the tubes dry out too quickly!) and well as standard watercolors (Windsor Newton or Holbein brands) used pigment rich (less water more paint). There are pictures of these products to the right.
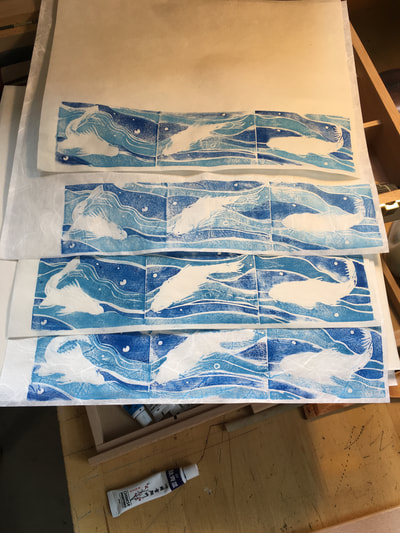
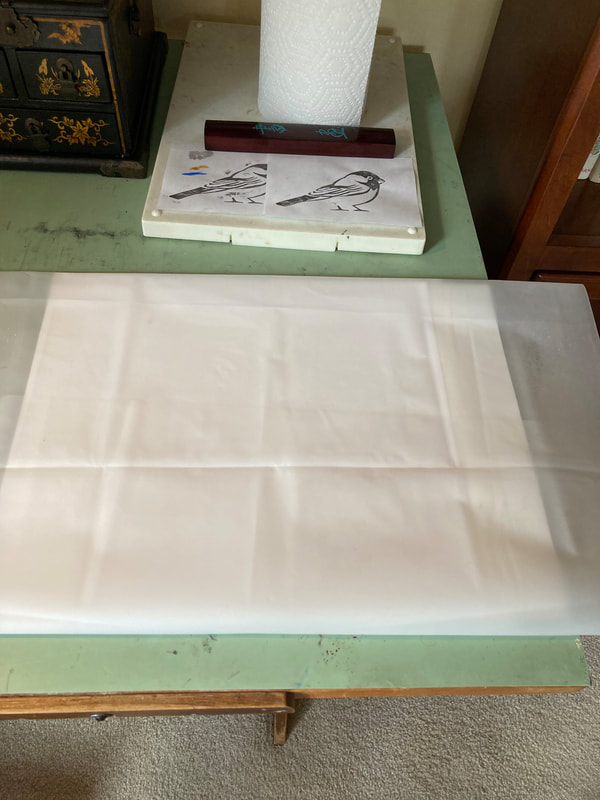
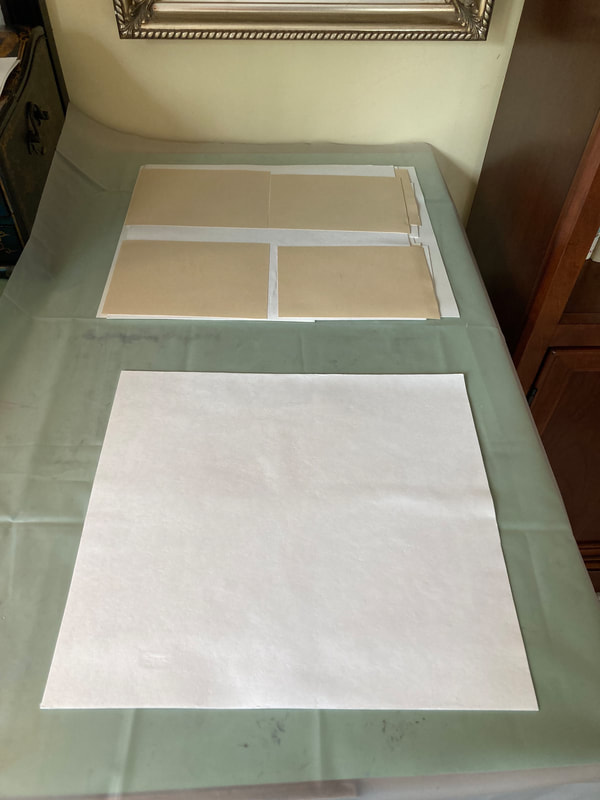
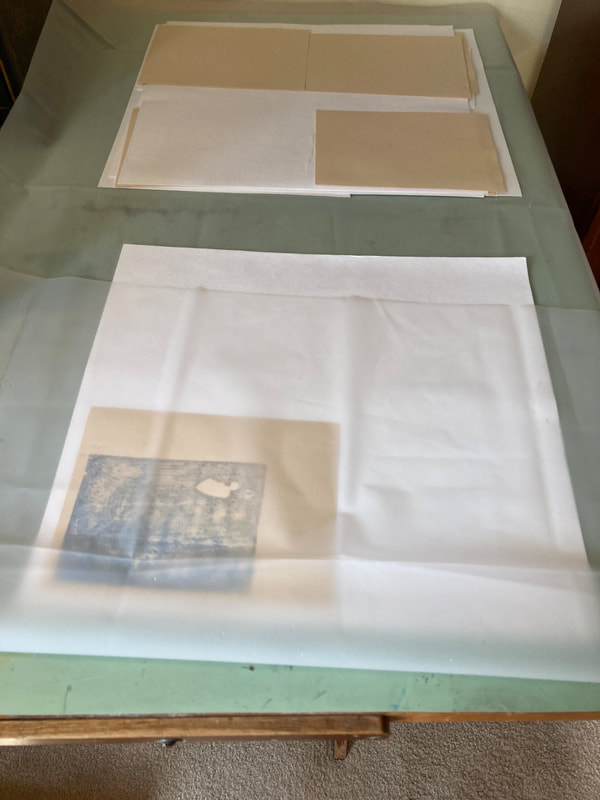
I have heard of some artists using poster paint and even thin acrylic (both are water soluble), but I have not tried either. Whatever you decide to use , experiment first. There is always a relationship between the pigment and the paper. With a bit of trial and error you will find paper and pigment combinations that will work well for you. Remember always make your wet pack of paper first! See four color example below for the wet pack image. |
Two Color Woodblock Printing: My First Attempt
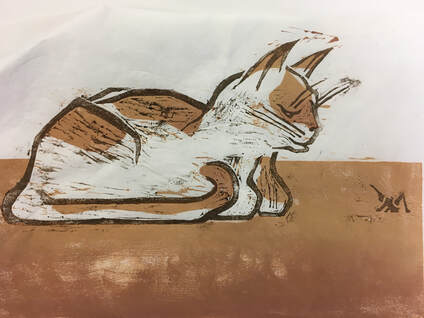
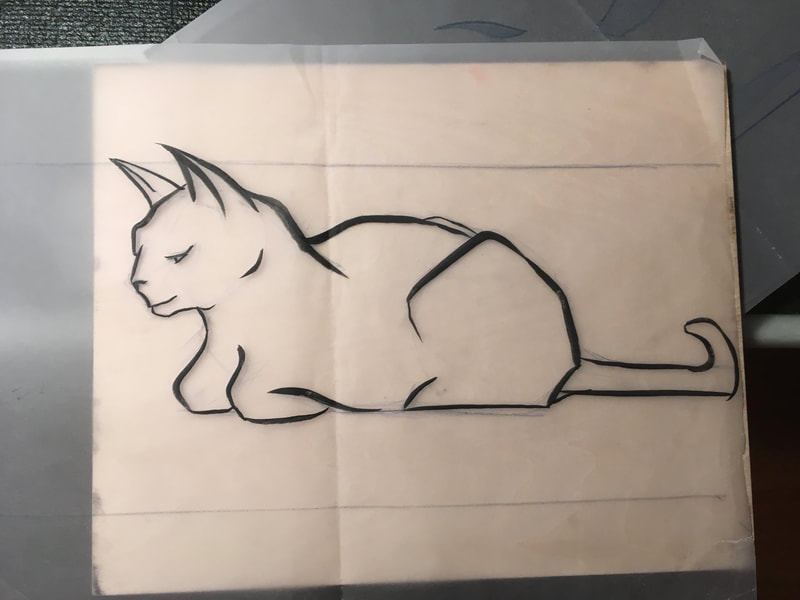
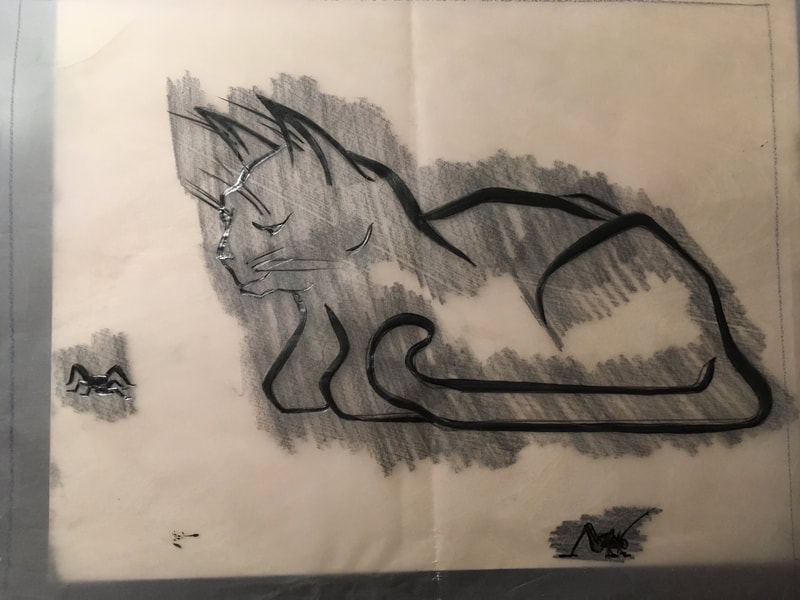
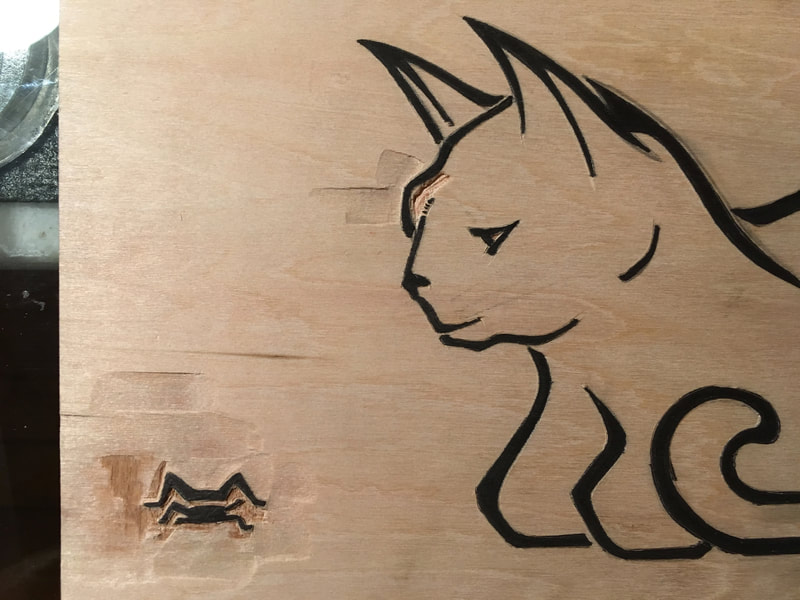
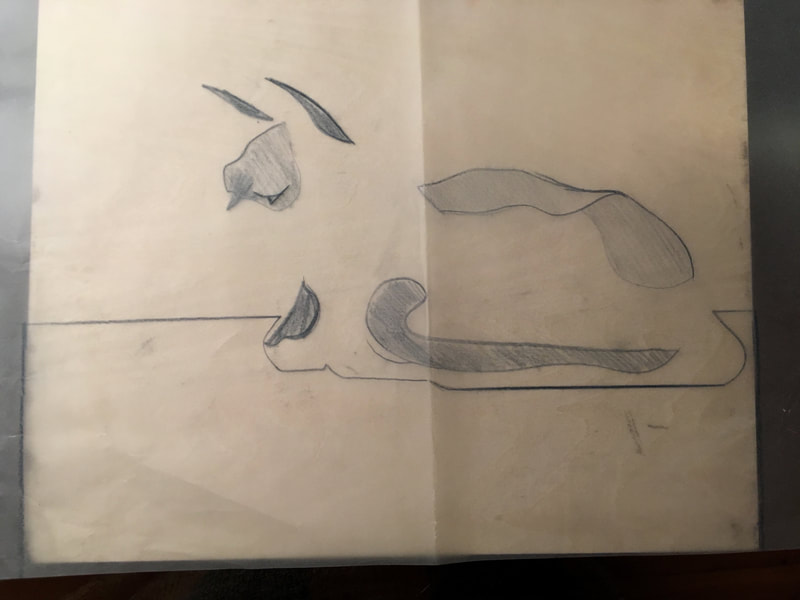
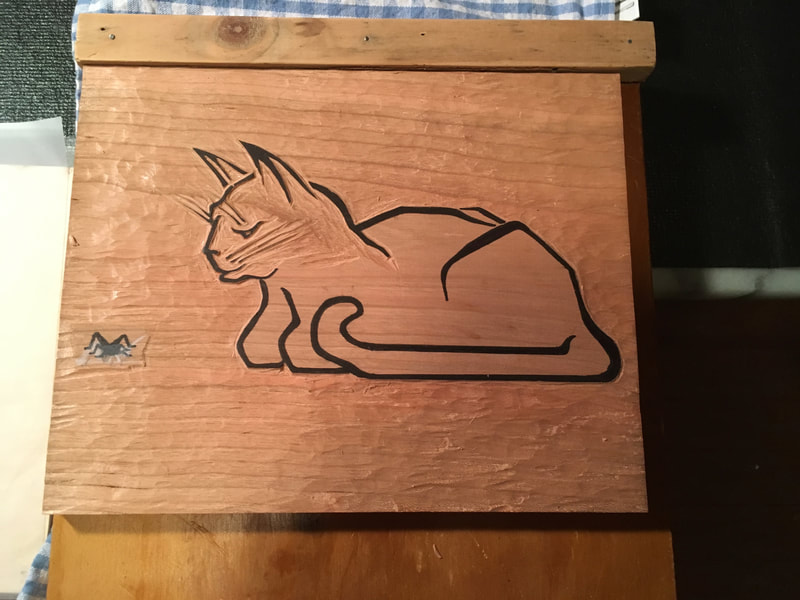
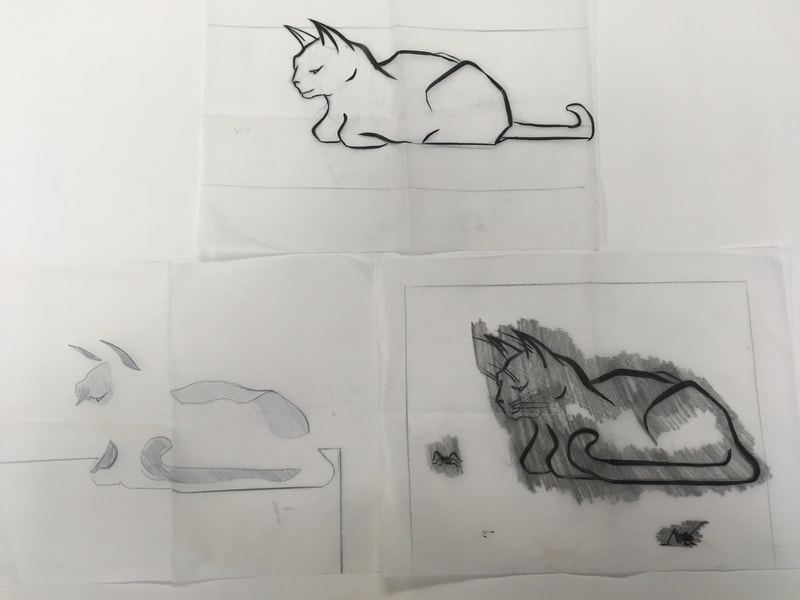
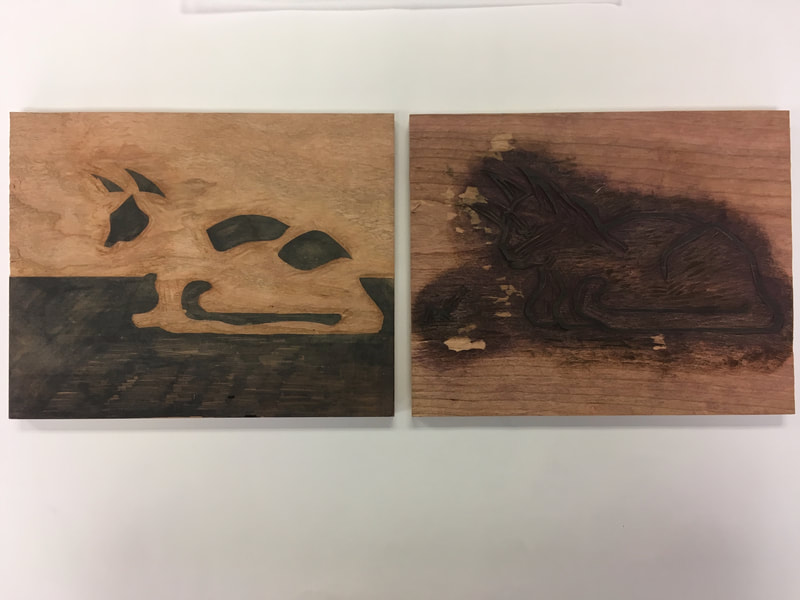
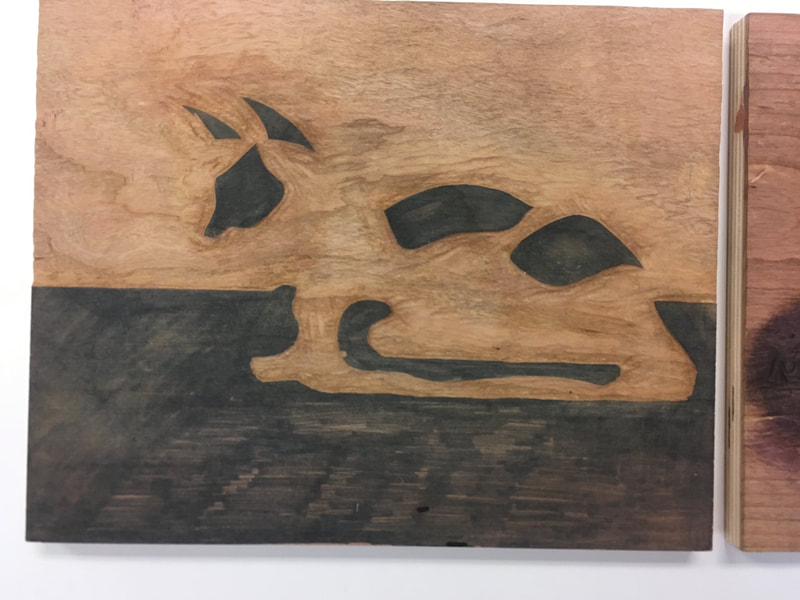
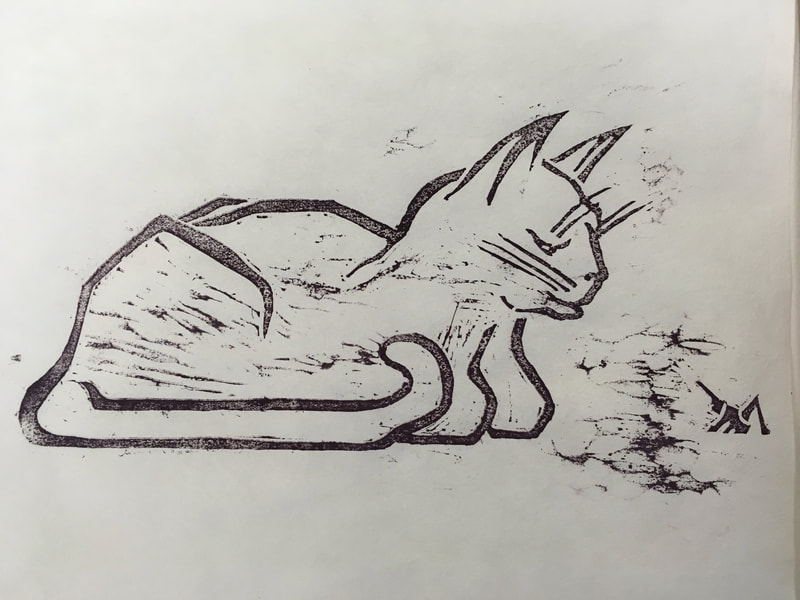
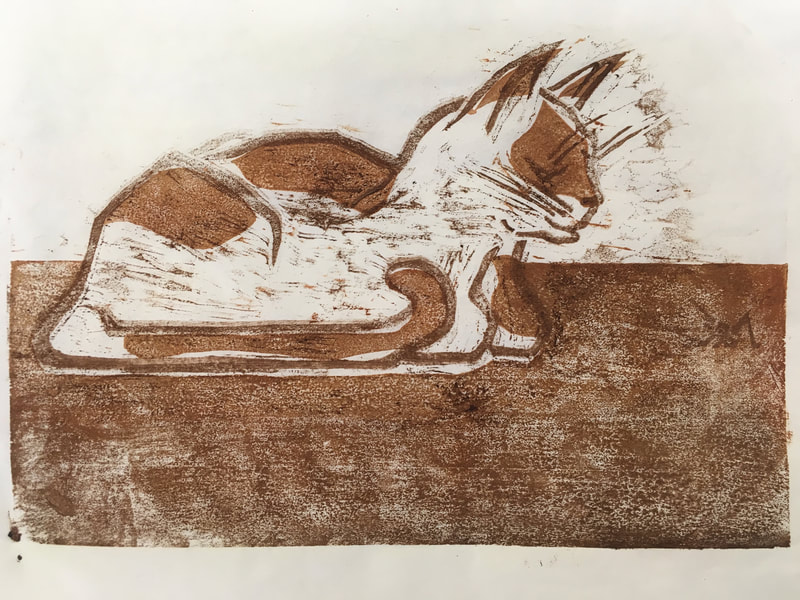
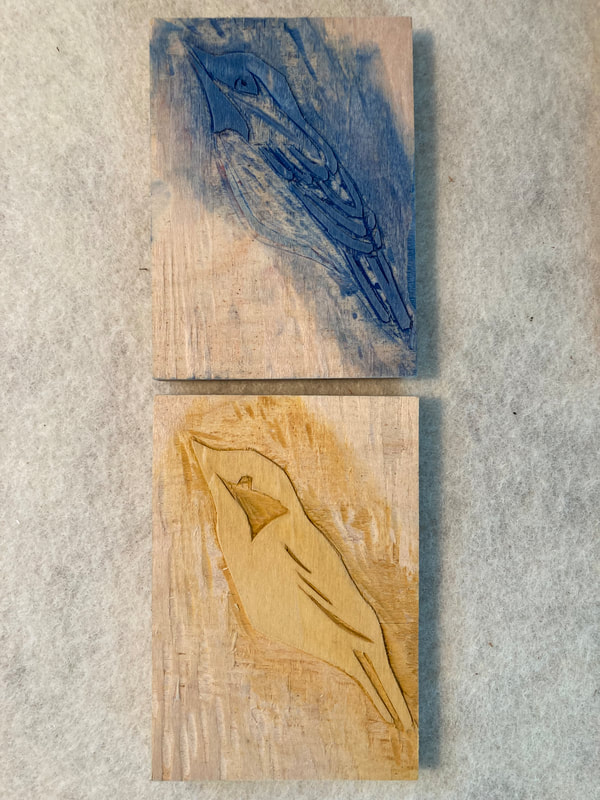
To the left is the first keeper of my first two color wood block print "Cat and Cricket." Below I have the visual documentation of the process from sketch to print including the the carved blocks. I learned very quickly to watch my value range between the two blocks and to print the lighter values first in this case. Experience is teaching me about the subtleties of carving to make use of the "chatter" (the wood texture) and the pressure and motion in using the printing barren. I am still struggling with registering, that is getting the correct alignments. But, all in all I'm pretty excited and will continued working on refining this image.
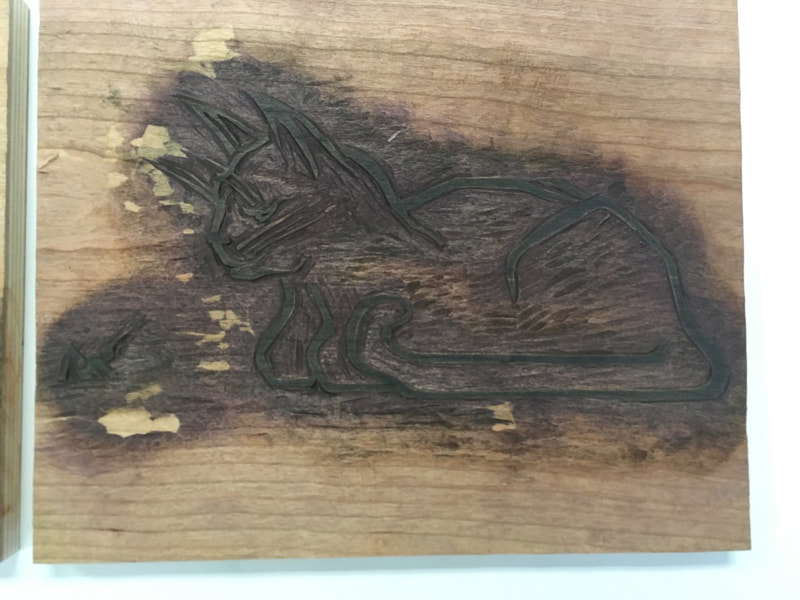
Building on what I learned this summer (2018) and from the recent Japanese woodblock print exhibit at the Walters Art Museum this fall, I am attempting to create a simple two color woodblock print, mokuhanga style. I began with a simple sketch of one of my favorite subjects, our cat. I then transferred the image on to the block. The first block I used was shina plywood. I quickly discovered that the plywood was too soft a wood to hold the lines I wanted. So I switch to a fruit wood laminated block (I believe it is pear or cherry). This wood is much harder and although it takes much more care and effort in carving, thus far I am pleased with the results.
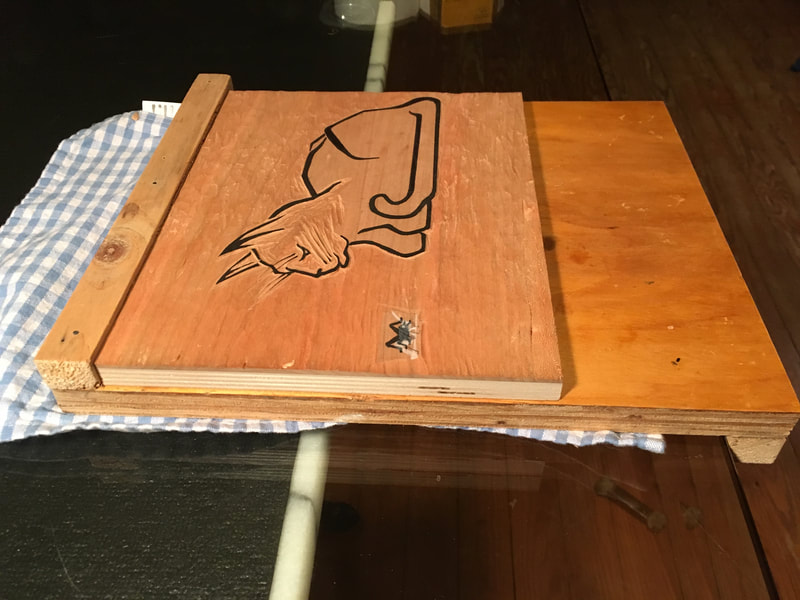
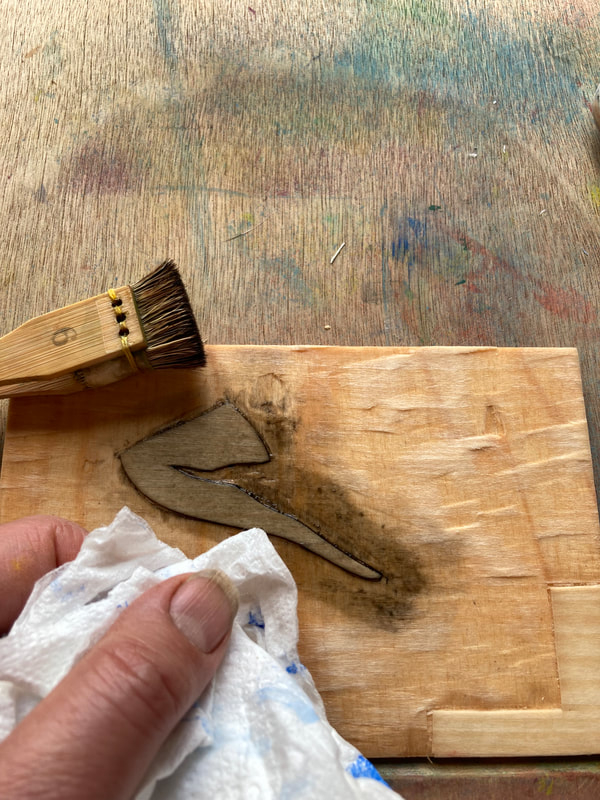
I have learned several things so far in this process: the in order in which one proceeds with carving is important: working from outside in and big to small, is the general rule. Second, I learned that my body and hand posture is quite important not only for control, but for my own comfort and ability to work for an extended period of time. Lastly, my husband made me a bench block. Not only does this tool make carving much easier, but it also is much safer since it makes it possible to turn and secure the block I am carving without having to place my free hand in harm's way!
I have learned several things so far in this process: the in order in which one proceeds with carving is important: working from outside in and big to small, is the general rule. Second, I learned that my body and hand posture is quite important not only for control, but for my own comfort and ability to work for an extended period of time. Lastly, my husband made me a bench block. Not only does this tool make carving much easier, but it also is much safer since it makes it possible to turn and secure the block I am carving without having to place my free hand in harm's way!
Exploring Two Color Printing Mokuhanga Style
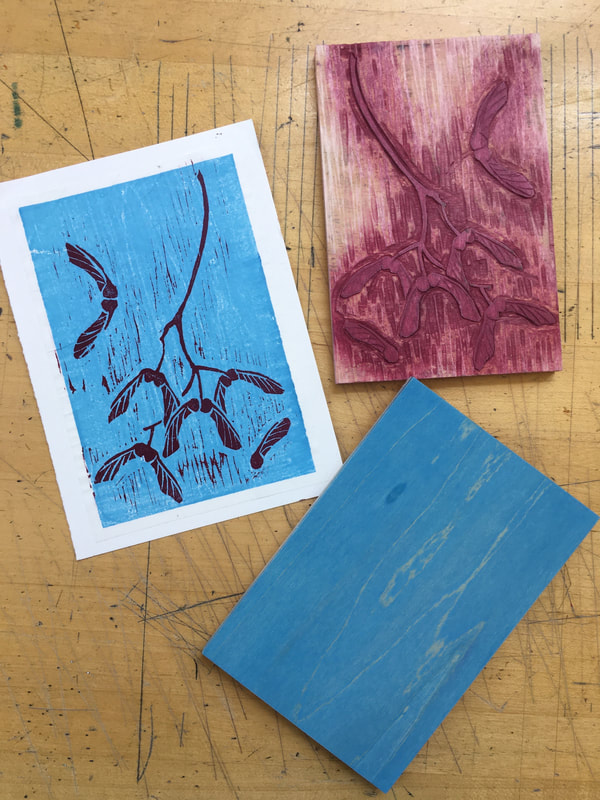
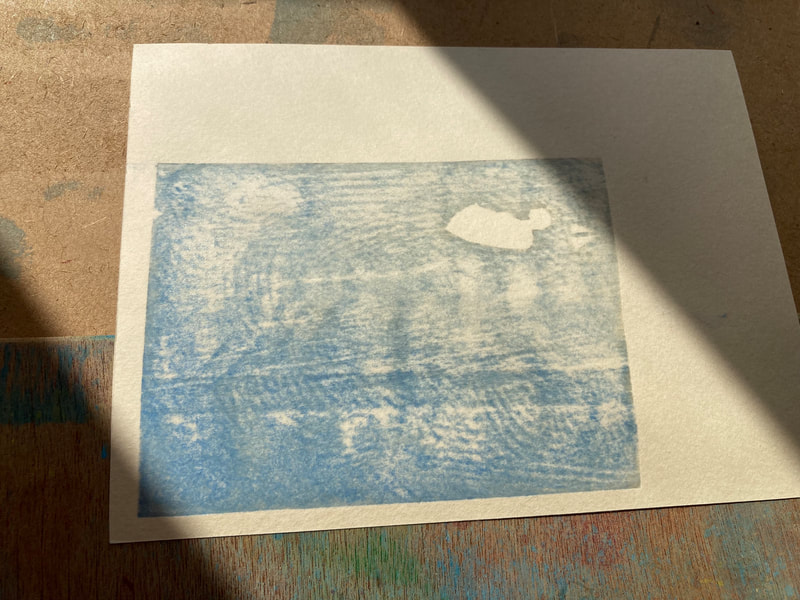
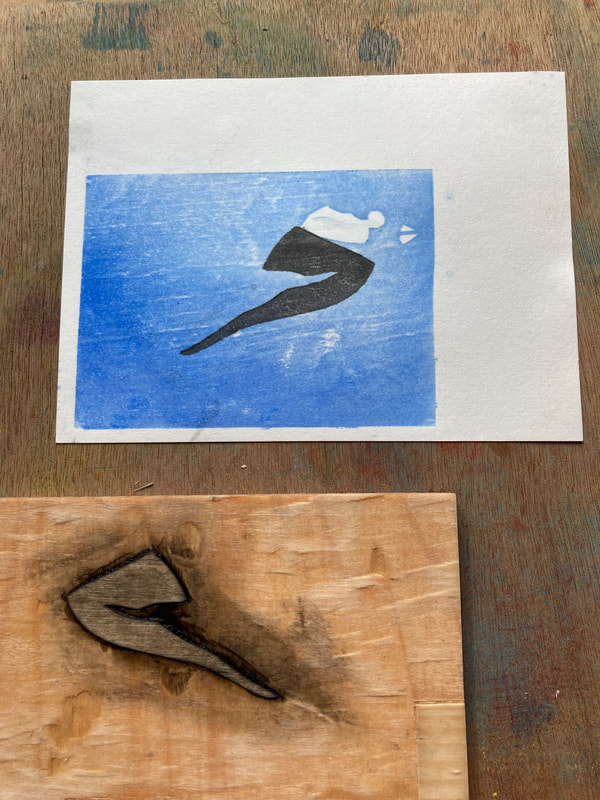
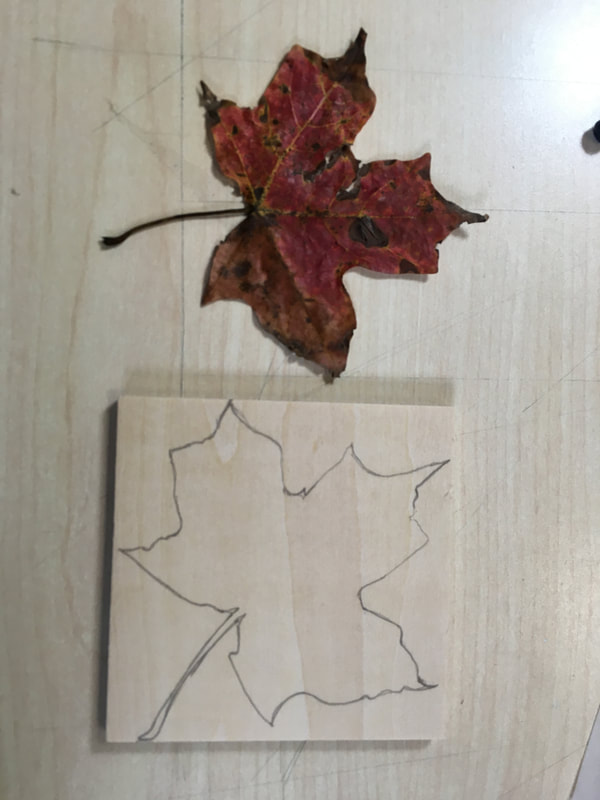
Inspired by a local Japanese Maple that lost many of it seeds on a recent windy day, I sketched directly from life on the block of Shina plywood. Then thought to create a contrasting background that was a graduated hue. For this, I mixed the rice paste directly into the pigment. Still tried to figure out how to lose what the Japanese masters call the "sesame seed" texture on the back ground.
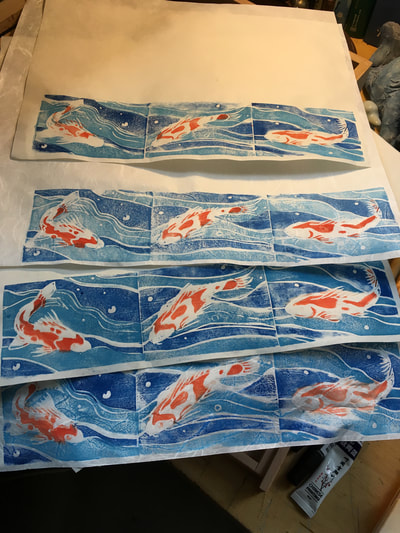
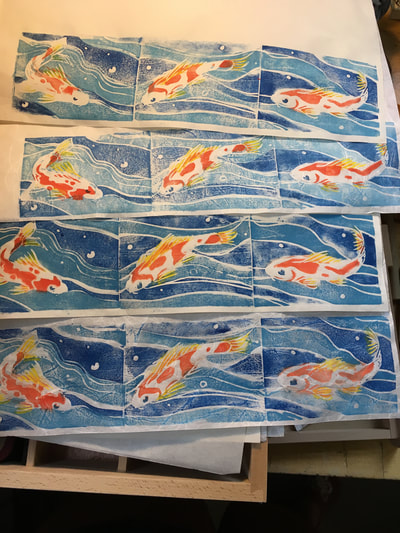
Four Color with Hanga
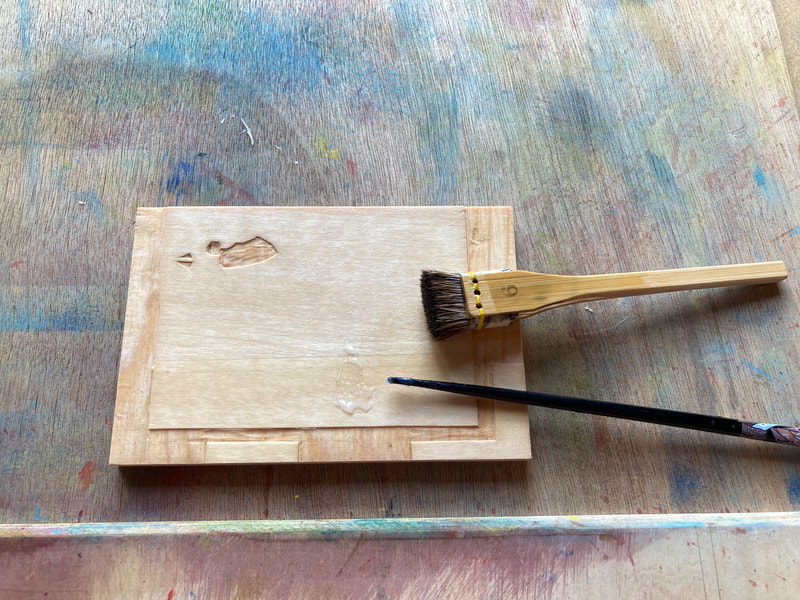
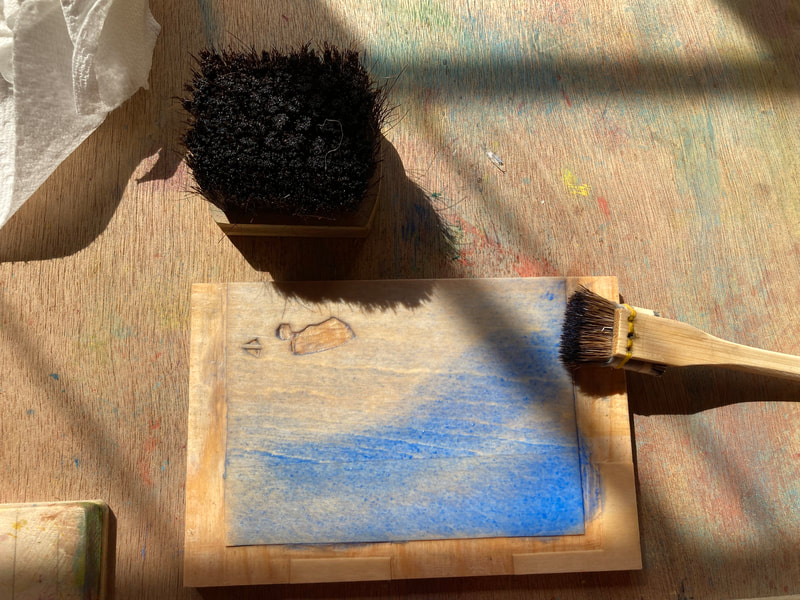
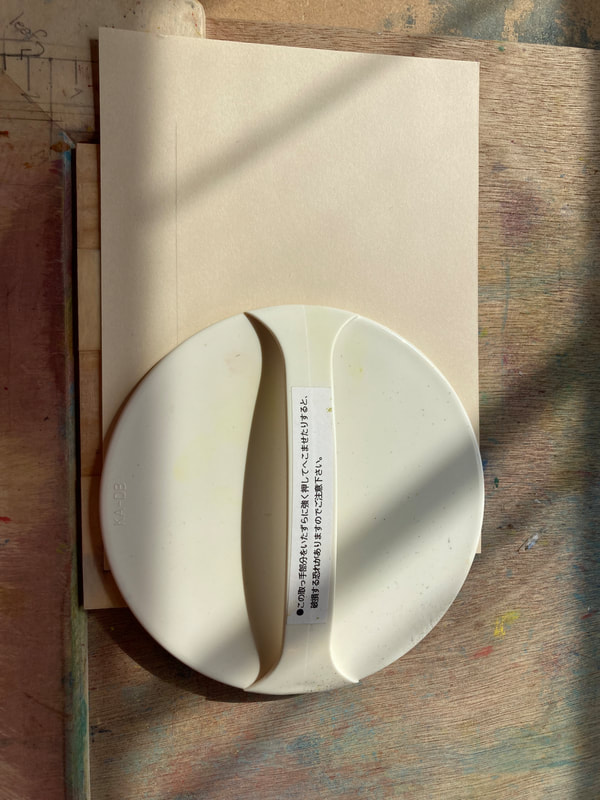
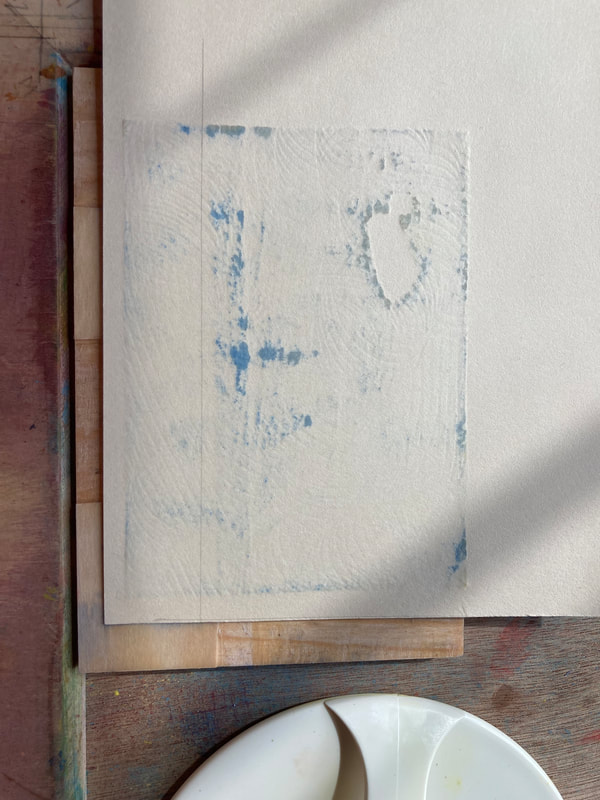
Step by Step:
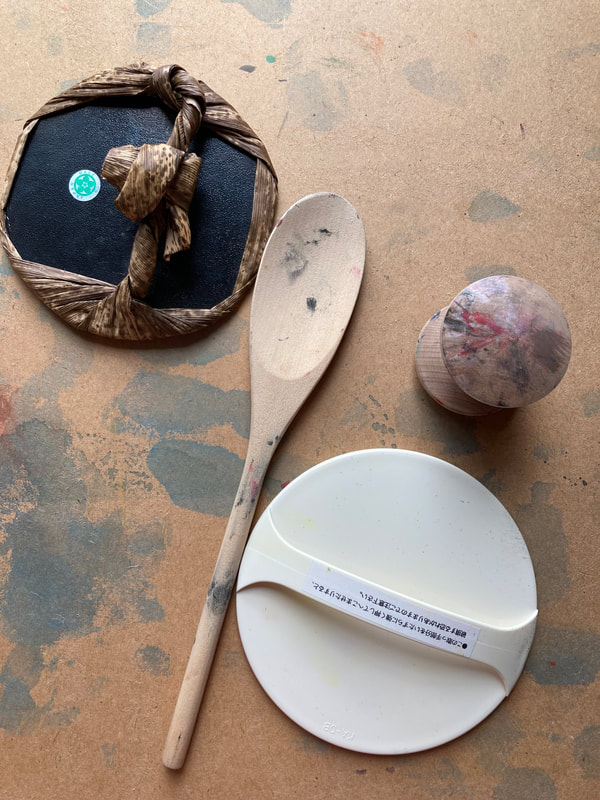
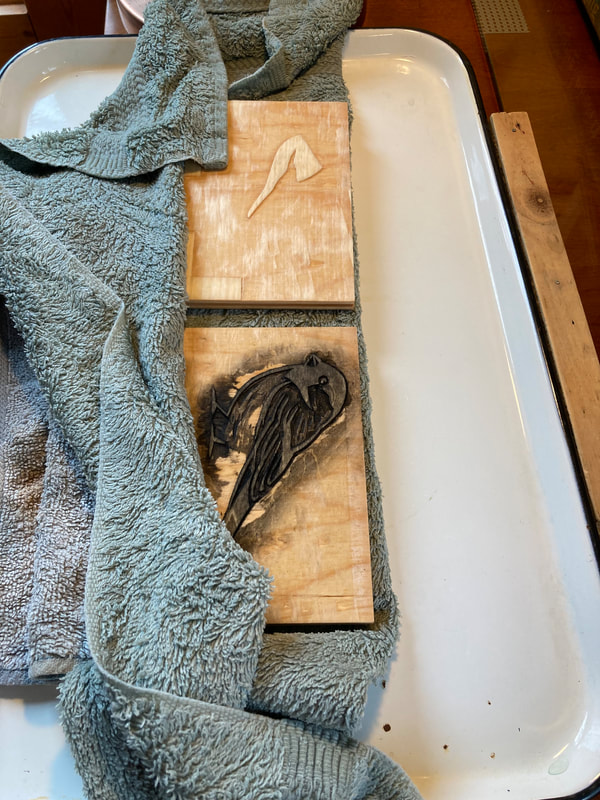
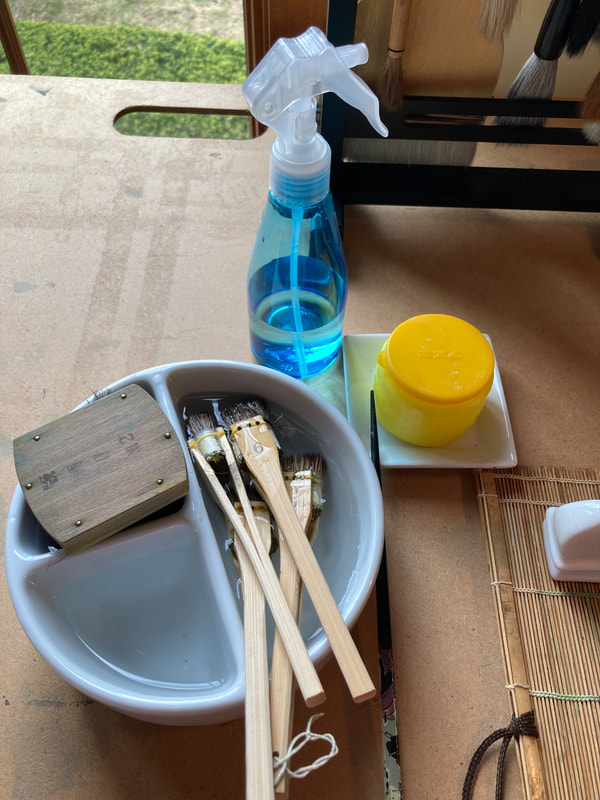
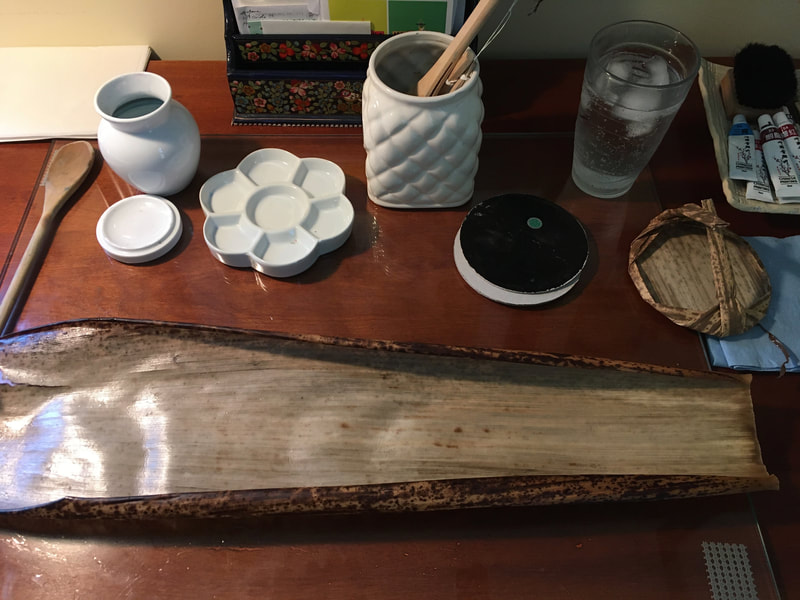
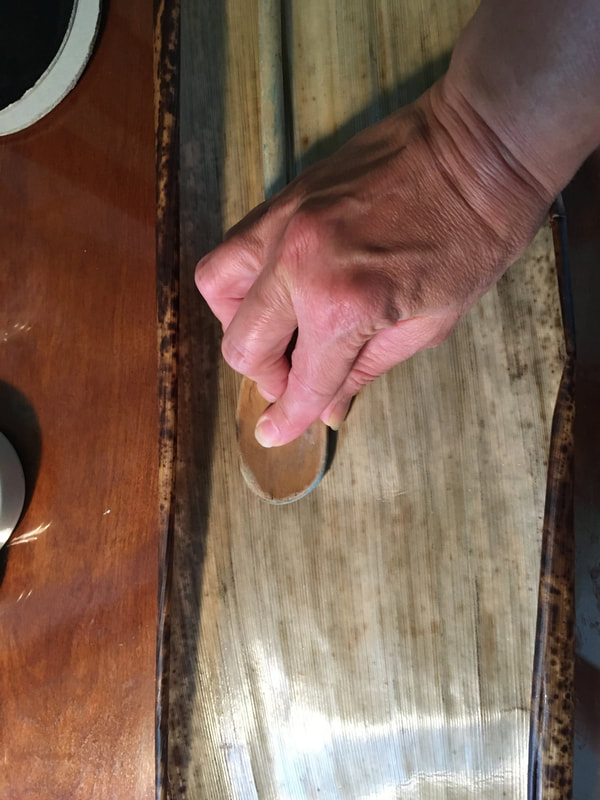
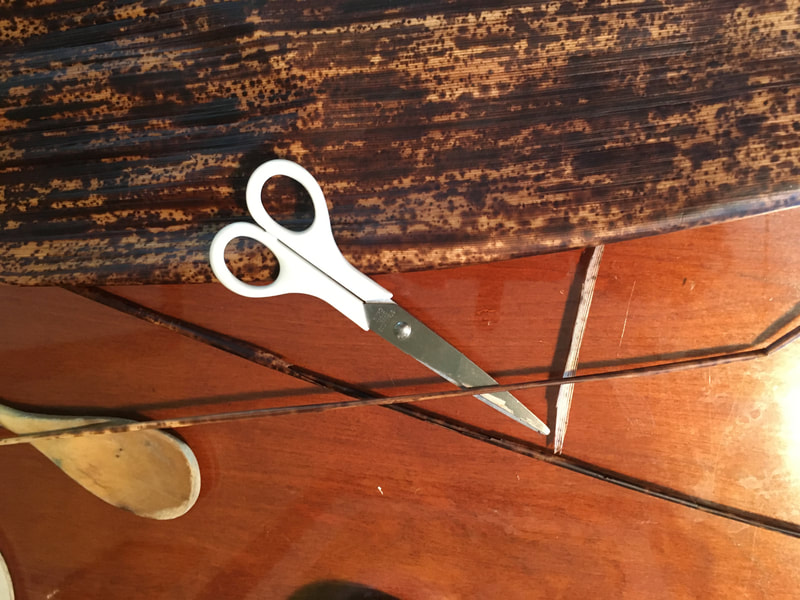
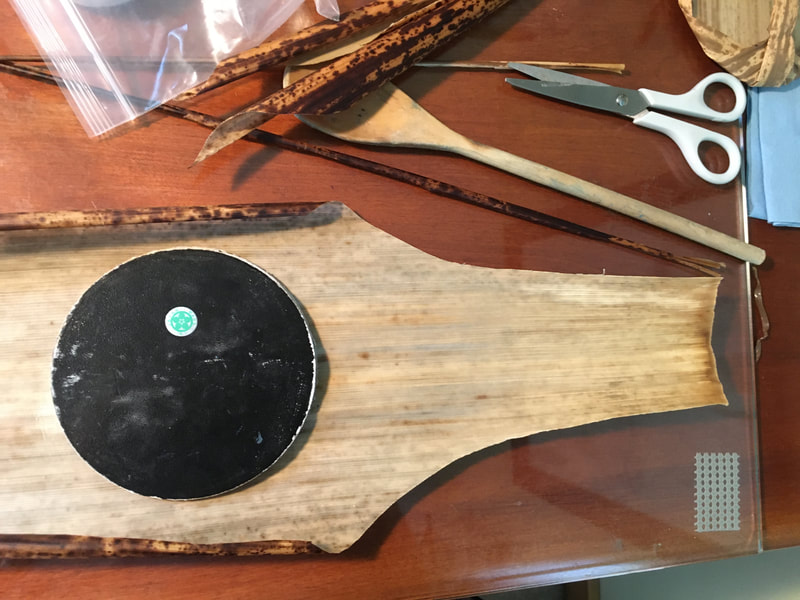
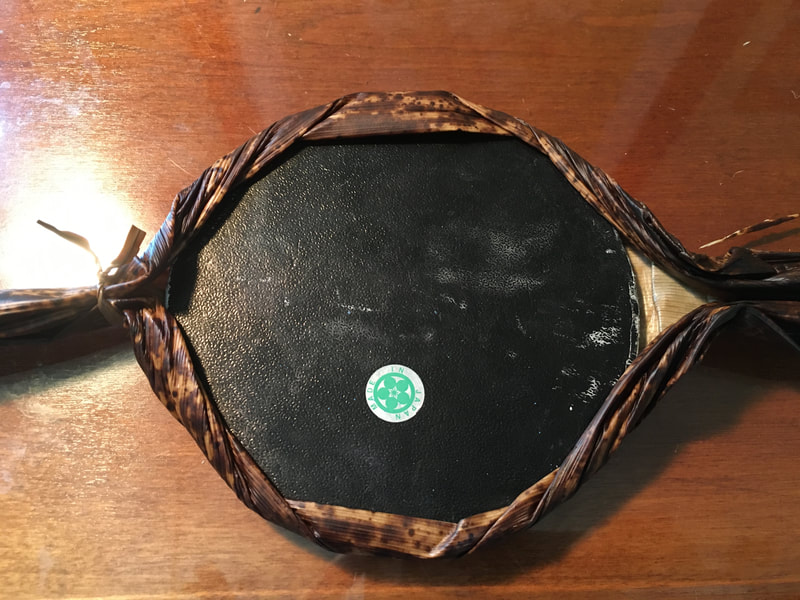
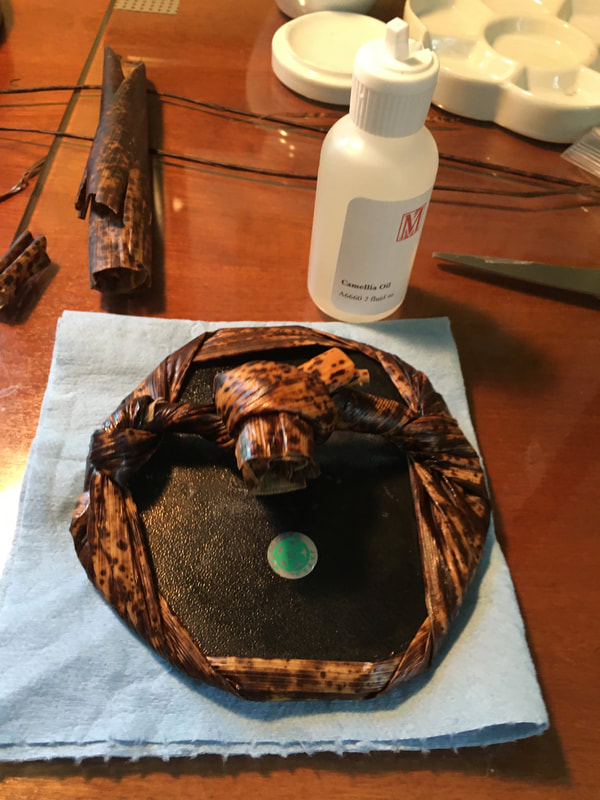
With all this printing, I had to learn how to replace the covering or takenokawa (bamboo sheath) on my baren. It's not everyday you get a leaf sent to you in the mail! I got mine from McClain's Printmaking Supplies. I did wrap it in a damp towel over night before I attempted to recover it. It's not perfect be it works!
More Experiments with the Japanese Art of Woodblock with Watercolor:
Moku Hanga
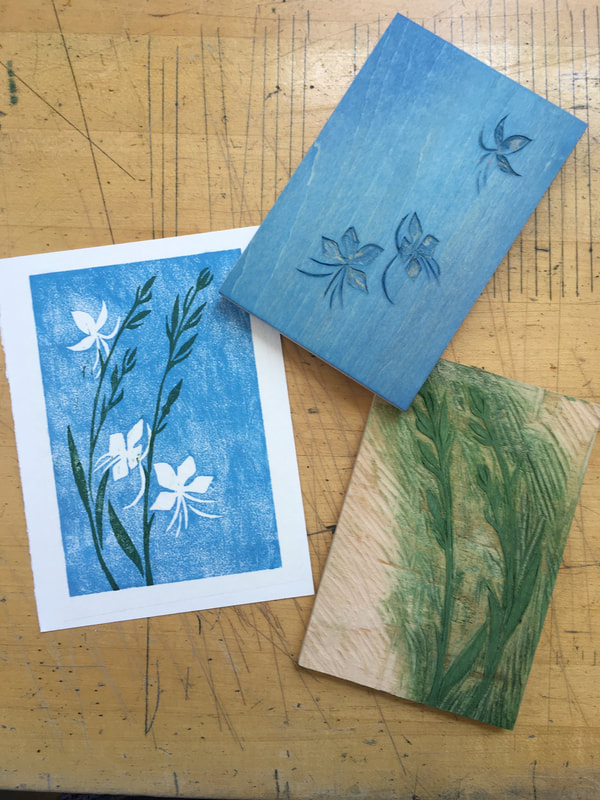
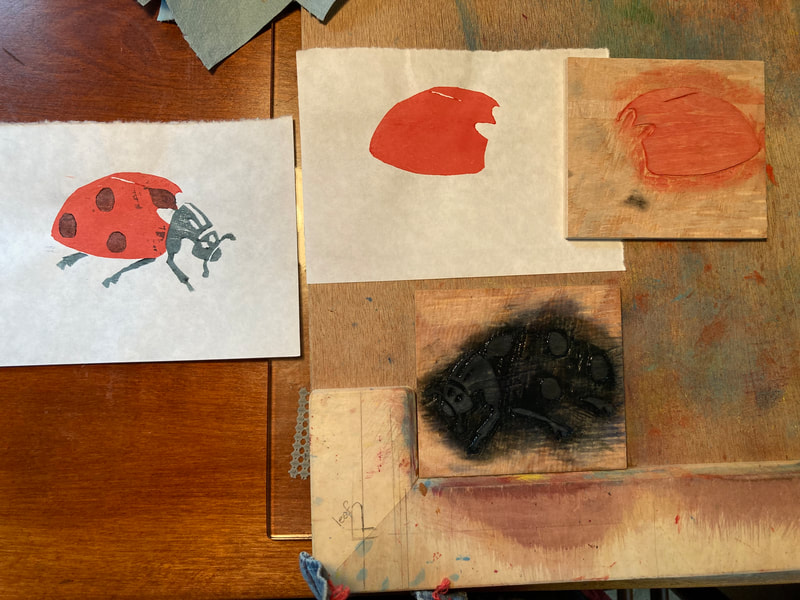
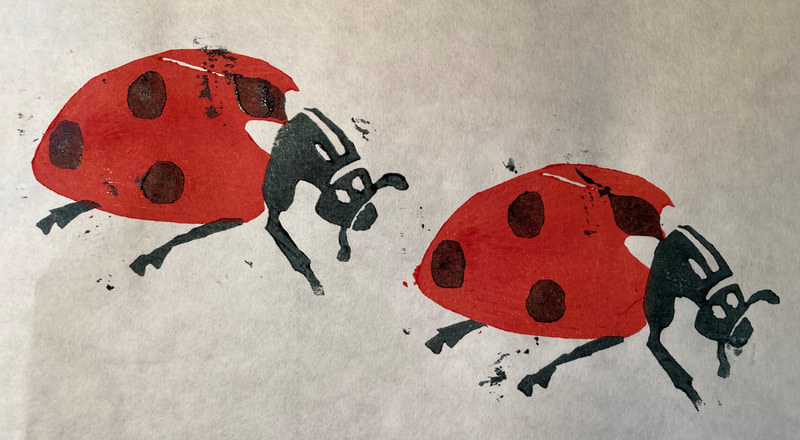
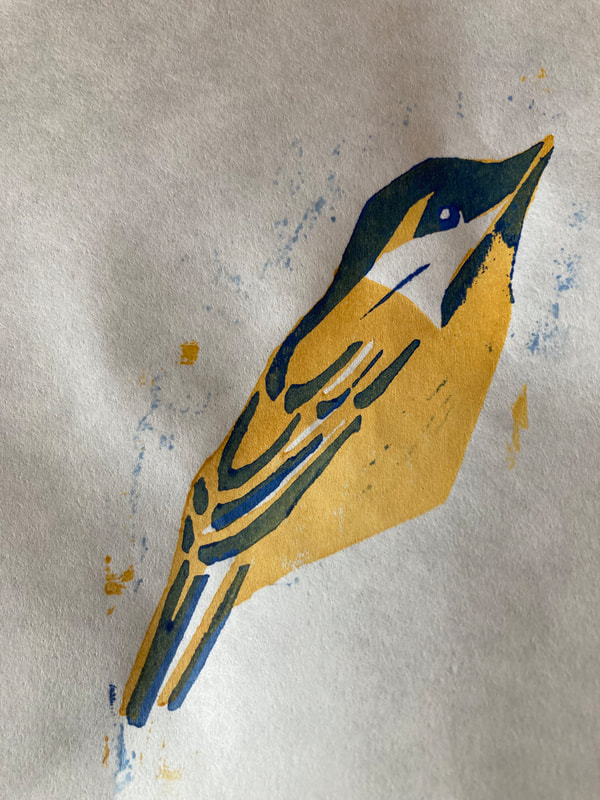
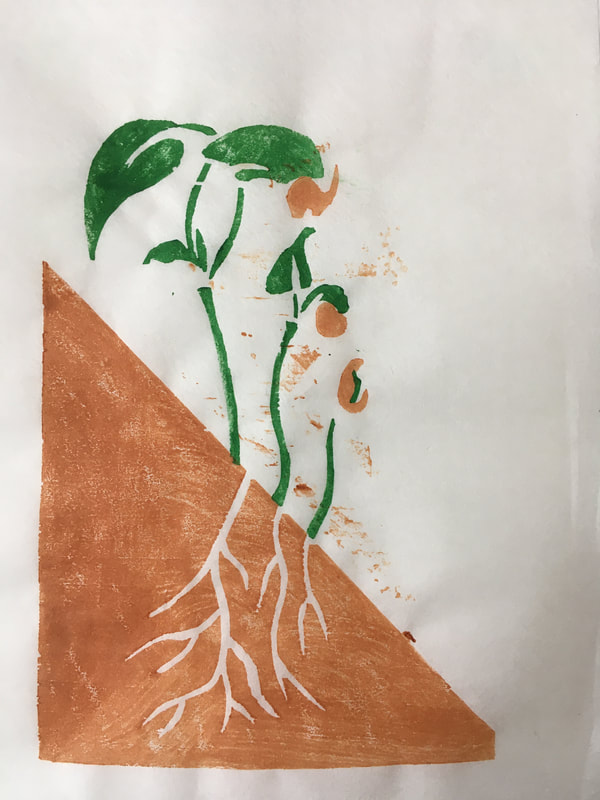
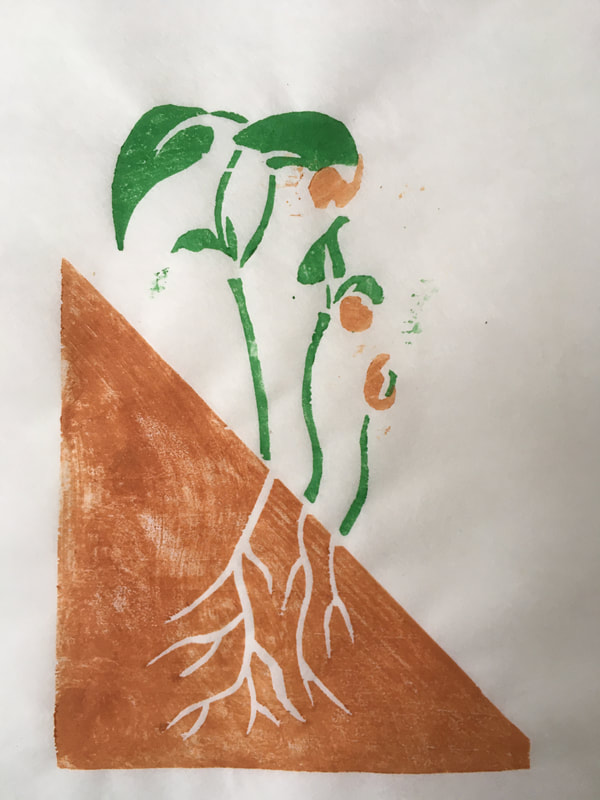
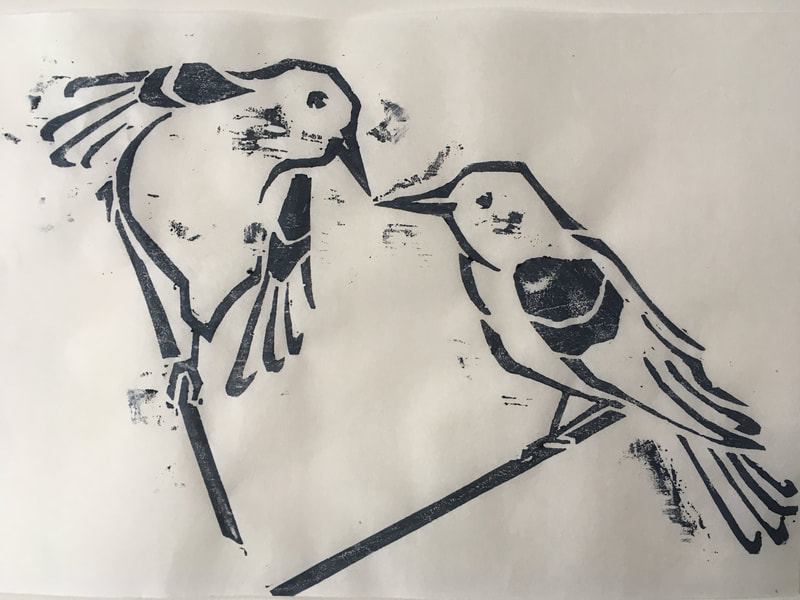
Working from home, I have enjoyed becoming a bit more handy in this technique. I also enjoy the simple materials and equipment required, not to mention the easy clean up of water-based media! I also enjoy working small. Using social media, I put out the call for folks who were interested in receiving a handmade original card. As different things bloom and we have different animal visitors throughout the summer in my garden I've been inspired to work in limited series.
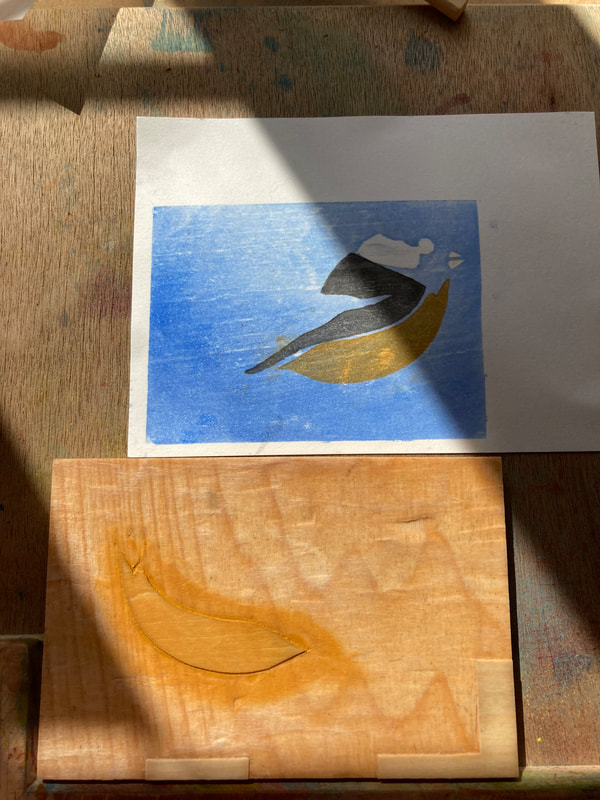
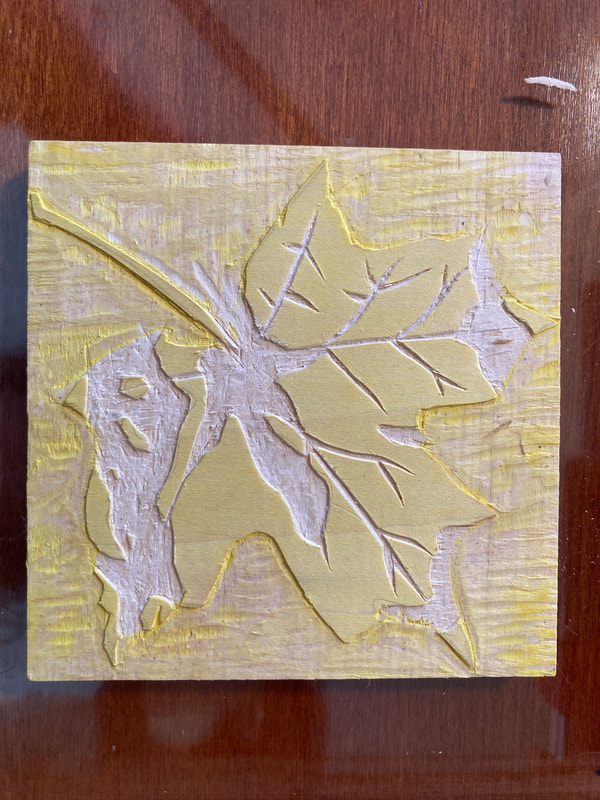
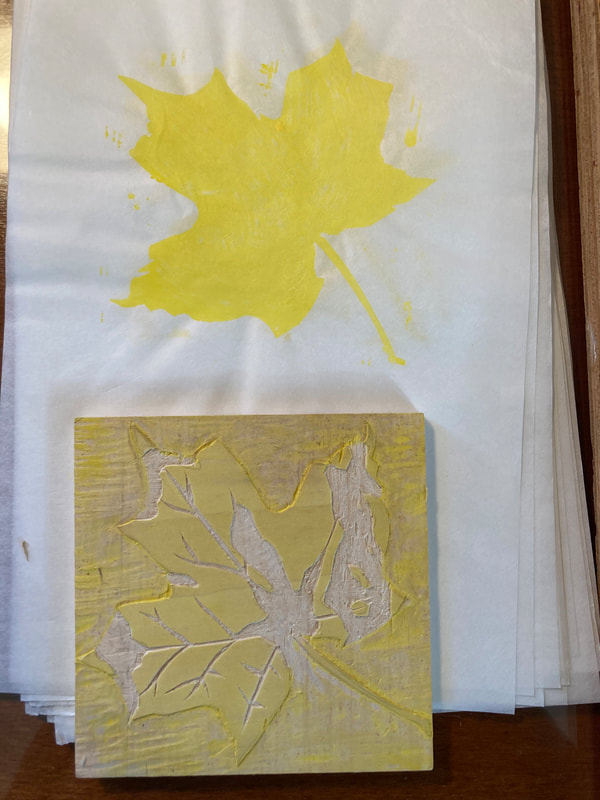
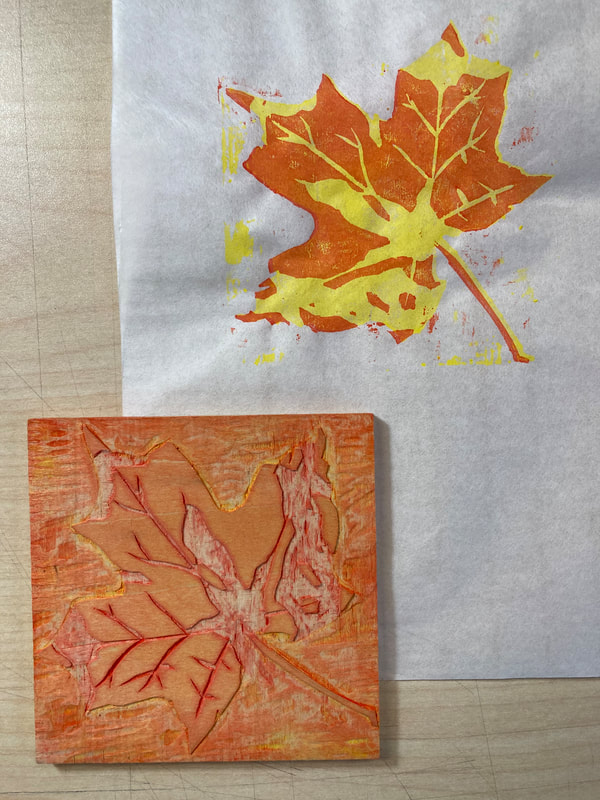
Mokuhanga Reduction Woodblock Leaf: as of 2/9/21
One Color and Two Color Experiments
The Pursuit of Cheese
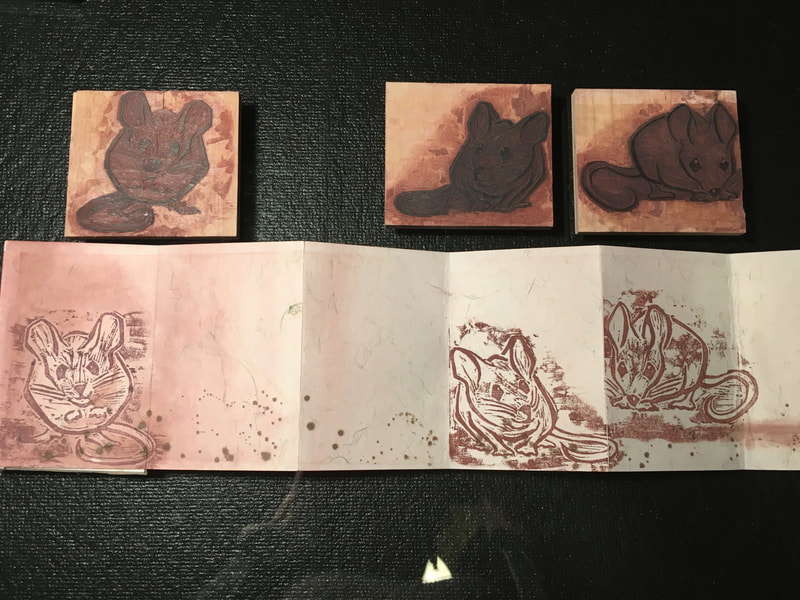
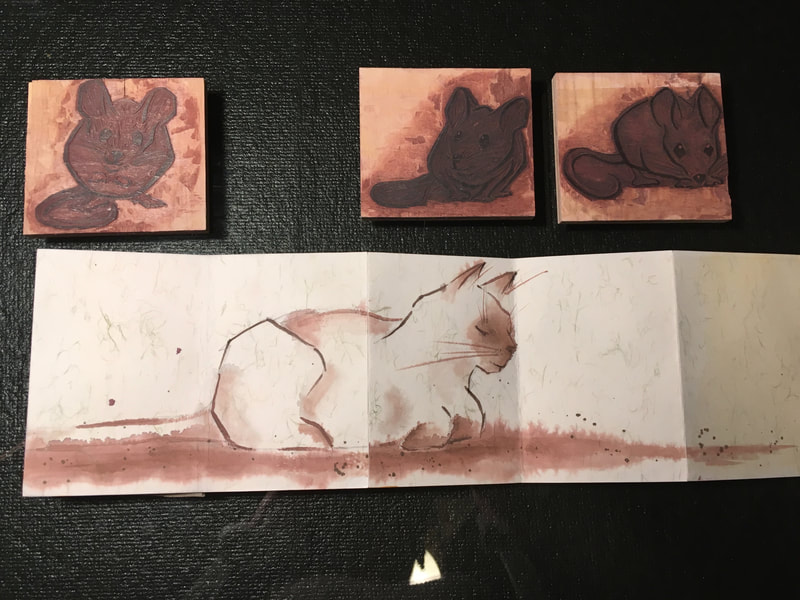
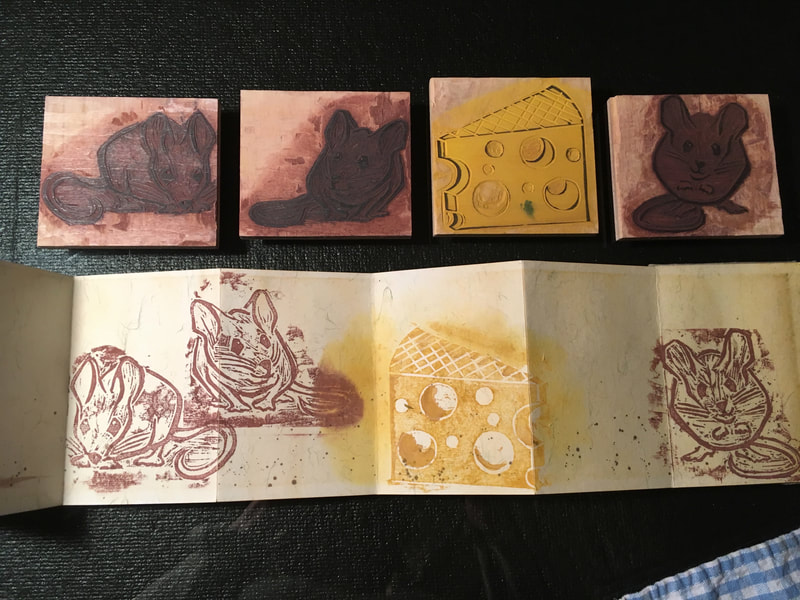
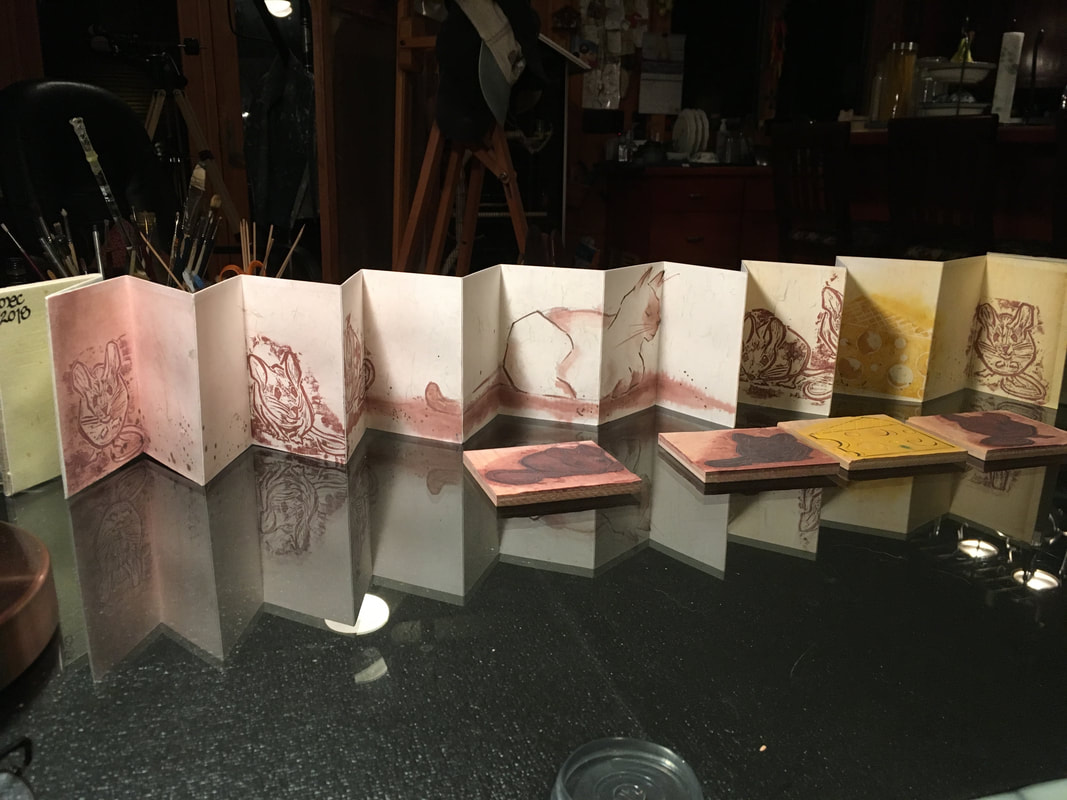
I enjoyed making the first according book so much that I decided to try my hand an another. For this one I returned to my mice blocks and tried combining those with an ink drawing. You can see that the cat drawing later became further developed below into another project I am currently working on. I am still working on my visual storytelling skills. And the paper from this pre-made according book was a challenge to print on because it was very absorbent. I am hoping to experiment in the near future with mordant and sizing of papers in order to have sharper prints and less chatter. Overall though this was a fun little project and it does make me smile.
